
Unlock Acoustic Guitar Magic: DIY Mic Techniques Without Barre Chords
Struggling to capture the rich sound of your acoustic guitar without wrestling with barre chords and investing in expensive recording equipment? You’re not alone. Many guitarists, especially beginners and those with smaller hands, find barre chords challenging, and the thought of professional studio setups can be daunting. This guide provides a comprehensive, accessible solution: crafting a great acoustic guitar sound through DIY microphone techniques, all while sidestepping those dreaded barre chords. We’ll explore practical miking strategies, alternative chord voicings, and essential gear considerations to help you achieve a professional-quality recording right in your own home.
This isn’t just another list of tips. We’ll delve into the science of sound, the art of microphone placement, and the secrets of chord simplification. Whether you’re recording demos, creating content for YouTube, or simply want to capture your musical ideas, this guide empowers you to create beautiful acoustic recordings without unnecessary complexity. We’ll focus on easy-to-play chords and smart miking to get the best sound possible. Learn how to make a diy acoustic mic no barre chords sound incredible.
Understanding Acoustic Guitar Recording Fundamentals
Before diving into specific techniques, let’s cover some essential background. The acoustic guitar is a complex instrument, producing sound from the vibration of its strings, soundboard, and the air within its body. Accurately capturing this requires careful consideration of microphone type, placement, and the room’s acoustics. Understanding these elements is crucial for achieving a balanced and natural recording.
Microphone Types: Condenser microphones are generally preferred for acoustic guitar due to their sensitivity and ability to capture subtle nuances. Large-diaphragm condensers are particularly well-suited for capturing the full frequency range of the instrument. Dynamic microphones, while more robust, often lack the detail and clarity needed for acoustic recording. Ribbon microphones offer a warm, vintage tone, but are more delicate and require careful handling.
Polar Patterns: The polar pattern of a microphone describes its sensitivity to sound from different directions. Cardioid microphones, which pick up sound primarily from the front, are a popular choice for acoustic guitar recording as they help to isolate the instrument from room noise. Omnidirectional microphones pick up sound equally from all directions, capturing more of the room’s ambience, but can also introduce unwanted reflections and noise.
Acoustic Treatment: The room in which you record significantly impacts the sound. Untreated rooms often exhibit excessive reverberation and unwanted reflections, resulting in a muddy or boxy sound. Simple acoustic treatments, such as blankets, foam panels, or even strategically placed furniture, can help to absorb sound and reduce these reflections. The goal is to create a relatively neutral acoustic environment that allows the true sound of the guitar to shine through. Even a small closet can be optimized with some simple acoustic treatments.
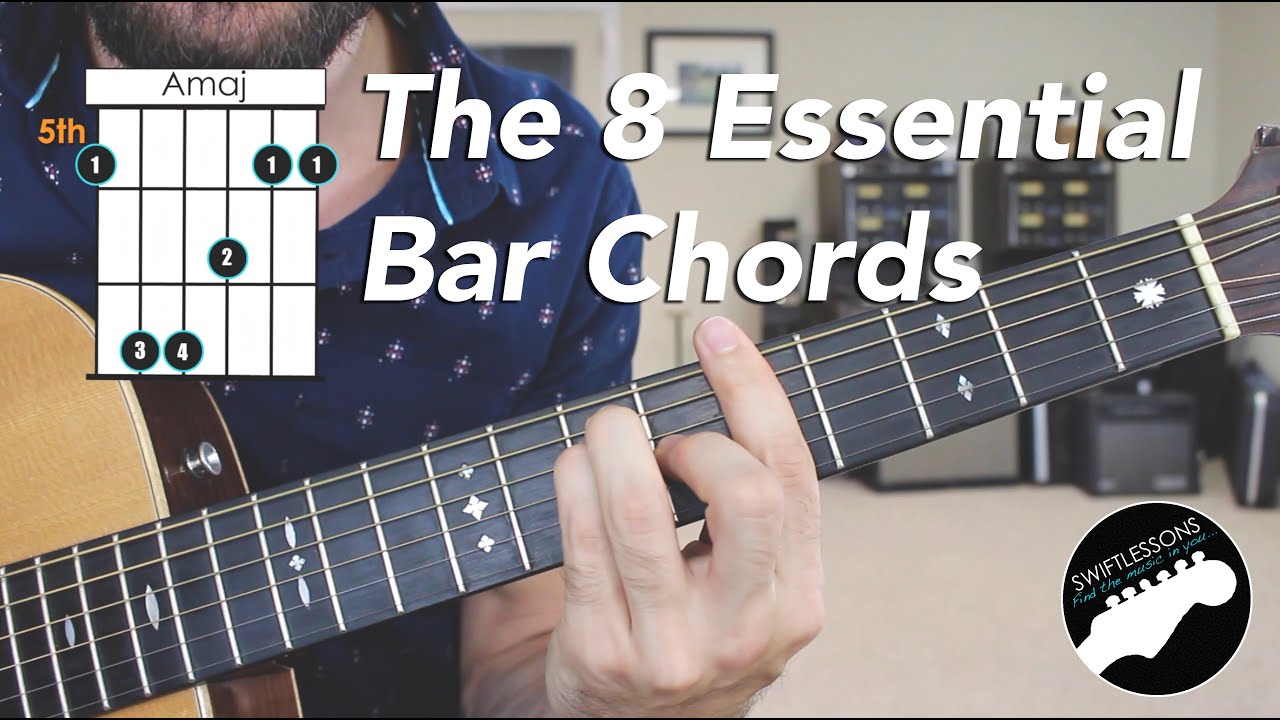
Mastering Chord Voicings Without Barre Chords
Barre chords can be a significant hurdle for many guitarists. Fortunately, countless beautiful and effective chord voicings exist that don’t require them. By exploring alternative shapes and inversions, you can create rich and interesting harmonies without the physical strain of barre chords. The key is to focus on the essential notes of each chord and find fingerings that are comfortable and efficient.
Open Chords: Mastering open chords is the foundation of playing without barre chords. These chords utilize open strings, allowing for easy fingerings and a full, resonant sound. Common open chords include G major, C major, D major, E minor, and A minor. Practice transitioning smoothly between these chords to build a solid foundation for more complex arrangements.
Chord Inversions: A chord inversion is simply a different arrangement of the same notes, with a different note in the bass. By using chord inversions, you can create smoother bass lines and add variety to your playing. For example, a C major chord can be played with C, E, or G in the bass. Experiment with different inversions to find voicings that complement your melody and create a richer harmonic texture.
Simplified Chord Shapes: Many barre chords can be simplified by omitting certain notes or using partial chord shapes. For example, a simplified F major chord can be played by only fretting the B string on the first fret and the G string on the second fret. This creates a lighter, brighter sound that can be particularly effective in certain contexts. Explore different simplified chord shapes to find alternatives that work for you.
DIY Microphone Techniques for Acoustic Guitar
Now, let’s get into the practical aspects of miking your acoustic guitar. Here are some proven techniques that you can implement with minimal equipment. Remember, experimentation is key. What works best will depend on your guitar, microphone, and room acoustics.
Single Microphone Technique: This is the simplest approach, ideal for beginners or those with limited equipment. Position a condenser microphone approximately 6-12 inches away from the guitar, aiming at the point where the neck joins the body. This position captures a balanced sound, combining the warmth of the body with the clarity of the strings. Adjust the microphone angle and distance to fine-tune the tone. Moving the microphone closer will increase the bass response, while moving it further away will capture more of the room’s ambience.
Two Microphone Technique (XY Configuration): This technique uses two cardioid microphones placed close together, with their capsules angled at 90 degrees. This creates a stereo image that captures the width and depth of the guitar’s sound. Position the microphones approximately 8-12 inches away from the guitar, aiming at the soundhole. The XY configuration provides a focused, coherent stereo image with minimal phase cancellation. Ensure that both microphones are the same type and model for optimal results.
Two Microphone Technique (Spaced Pair): This technique involves placing two microphones several feet apart, aiming at different parts of the guitar. One microphone can be positioned near the soundhole to capture the body’s resonance, while the other can be placed near the neck to capture the string’s articulation. This creates a wider, more spacious stereo image, but can also be more prone to phase cancellation. Experiment with different microphone positions and distances to find the optimal balance between warmth, clarity, and stereo width. Use a phase alignment tool in your DAW to minimize any phase issues.
Essential Gear for DIY Acoustic Guitar Recording
While you don’t need a professional studio to record great acoustic guitar, certain pieces of gear can significantly improve your results. Here’s a breakdown of essential equipment:
Condenser Microphone: As mentioned earlier, a condenser microphone is the best choice for acoustic guitar recording. Look for a large-diaphragm condenser microphone with a cardioid polar pattern for optimal sensitivity and isolation. Popular options include the Audio-Technica AT2020, Rode NT-USB+, and the AKG P420. The specific model choice often comes down to budget, but the AT2020 is a great entry-level choice.
Audio Interface: An audio interface is a device that connects your microphone to your computer. It converts the analog signal from the microphone into a digital signal that your computer can understand. Look for an audio interface with at least one XLR input and a built-in preamp. Popular options include the Focusrite Scarlett Solo, PreSonus AudioBox USB 96, and the Steinberg UR22C. These interfaces provide clean, transparent preamps and low-latency performance.
Digital Audio Workstation (DAW): A DAW is a software application used for recording, editing, and mixing audio. Popular DAWs include Ableton Live, Logic Pro X, Pro Tools, and GarageBand. GarageBand is a free option that comes pre-installed on Macs, making it a great starting point for beginners. Experiment with different DAWs to find one that suits your workflow and preferences.
Microphone Stand: A sturdy microphone stand is essential for positioning your microphone accurately and preventing unwanted vibrations. Look for a stand with adjustable height and angle. A boom arm can be particularly useful for positioning the microphone in hard-to-reach places.
Pop Filter: A pop filter is a screen that sits in front of the microphone to reduce plosives (bursts of air from words like “pop” and “burst”). This helps to prevent distortion and create a cleaner recording.
Optimizing Your Recording Environment
The acoustics of your recording environment play a crucial role in the overall sound quality. Even with the best equipment, a poor-sounding room can ruin a recording. Here are some tips for optimizing your recording environment:
Minimize Reflections: Hard surfaces like walls, ceilings, and floors reflect sound waves, creating unwanted reverberation and echoes. Cover these surfaces with soft materials like blankets, curtains, or acoustic panels to absorb sound and reduce reflections.
Create a Dead Space: The ideal recording environment is relatively “dead,” meaning it has minimal reverberation. You can create a dead space by surrounding your guitar and microphone with blankets or acoustic panels. This will help to isolate the instrument from the room’s acoustics and create a cleaner recording.
Experiment with Placement: Try recording in different parts of the room to find the spot with the best acoustics. Corners tend to amplify bass frequencies, while the center of the room may have more reflections. Experiment with different positions until you find one that sounds balanced and natural.
Editing and Mixing Your Acoustic Guitar Recording
Once you’ve recorded your acoustic guitar, the next step is to edit and mix the audio in your DAW. This involves cleaning up any unwanted noise, adjusting the levels, and adding effects to enhance the sound. Here are some essential editing and mixing techniques:
Noise Reduction: Use noise reduction plugins to remove any unwanted background noise, such as hum, hiss, or traffic noise. Be careful not to overdo it, as excessive noise reduction can degrade the quality of the audio.
EQ (Equalization): Use EQ to shape the tonal balance of the guitar. Cut out any unwanted frequencies, such as muddiness in the low end or harshness in the high end. Boost frequencies that enhance the guitar’s clarity and warmth. A common starting point is to cut frequencies below 100Hz to remove rumble and boost frequencies around 2kHz to add presence.
Compression: Use compression to even out the dynamics of the guitar, making it sound more consistent and controlled. Compression reduces the dynamic range by attenuating loud peaks and boosting quiet passages. Start with a subtle compression ratio (e.g., 2:1 or 4:1) and adjust the threshold until you achieve the desired amount of gain reduction.
Reverb: Use reverb to add space and ambience to the guitar. Reverb simulates the natural reverberation of a room, creating a sense of depth and realism. Experiment with different reverb types and settings to find one that complements the guitar’s tone and the overall mood of the song.
Acoustic Guitar Miking: Advanced Techniques
Once you’ve mastered the basic techniques, you can explore more advanced miking strategies to further refine your acoustic guitar sound. These techniques involve using multiple microphones, experimenting with different microphone placements, and incorporating specialized equipment.
Mid-Side (M-S) Technique: The Mid-Side technique uses two microphones: a cardioid microphone (the “Mid” microphone) and a figure-8 microphone (the “Side” microphone). The Mid microphone captures the direct sound of the guitar, while the Side microphone captures the ambience of the room. The signals from the Side microphone are then processed in your DAW to create a stereo image. The M-S technique offers excellent mono compatibility and precise control over the stereo width.
Blumlein Pair: The Blumlein Pair technique uses two figure-8 microphones placed close together, with their capsules angled at 90 degrees. This creates a wide, natural stereo image with excellent detail and clarity. The Blumlein Pair is particularly well-suited for capturing the ambience of the recording environment.
Using a Boundary Microphone: A boundary microphone is designed to be placed on a flat surface, such as a wall or floor. These microphones are often used to capture the ambience of a room or to reinforce the sound of instruments on stage. Experiment with placing a boundary microphone near your acoustic guitar to capture the room’s reflections and add depth to your recording.
Elevate Your Acoustic Guitar Sound
Mastering diy acoustic mic no barre chords recording is within your reach. By understanding the fundamentals of microphone techniques, exploring alternative chord voicings, and optimizing your recording environment, you can achieve professional-quality results without expensive equipment or advanced playing skills. Remember that experimentation is key to finding what works best for your specific guitar, microphone, and room. Don’t be afraid to try new things, listen critically, and refine your techniques over time. With practice and patience, you’ll be able to capture the beautiful, nuanced sound of your acoustic guitar and share your music with the world.
Ready to take your acoustic guitar recordings to the next level? Share your experiences with DIY miking techniques and no-barre chord voicings in the comments below. What are your favorite tips and tricks? Let’s learn from each other and create amazing music together!
